Authorize.Net integration
To allow your customers to pay with Authorize.Net you must add your Authorize.Net API Keys to the plugin.
Getting the API Keys
- Log in to your Authorize.Net account
- After being redirected to the Dashboard, click on Account → Settings
- Click on API Credentials & Keys
- Get your API Login ID.
- On the same page, create a new Transaction Key. You will be emailed a PIN number for validation, after which the Transaction Key will be generated.
- Copy these keys in WP Booking System → Settings → Payment Gateways → Authorize.Net . See the section below for details.
- Go back to Account→ Security Settings → General Security Settings → Manage Public Client Key and copy the Client Key in WP Booking System → Settings → Payment Gateways → Authorize.Net
We strongly recommend you first test the payment integration by creating an account on https://sandbox.authorize.net.
Configuring the add-on
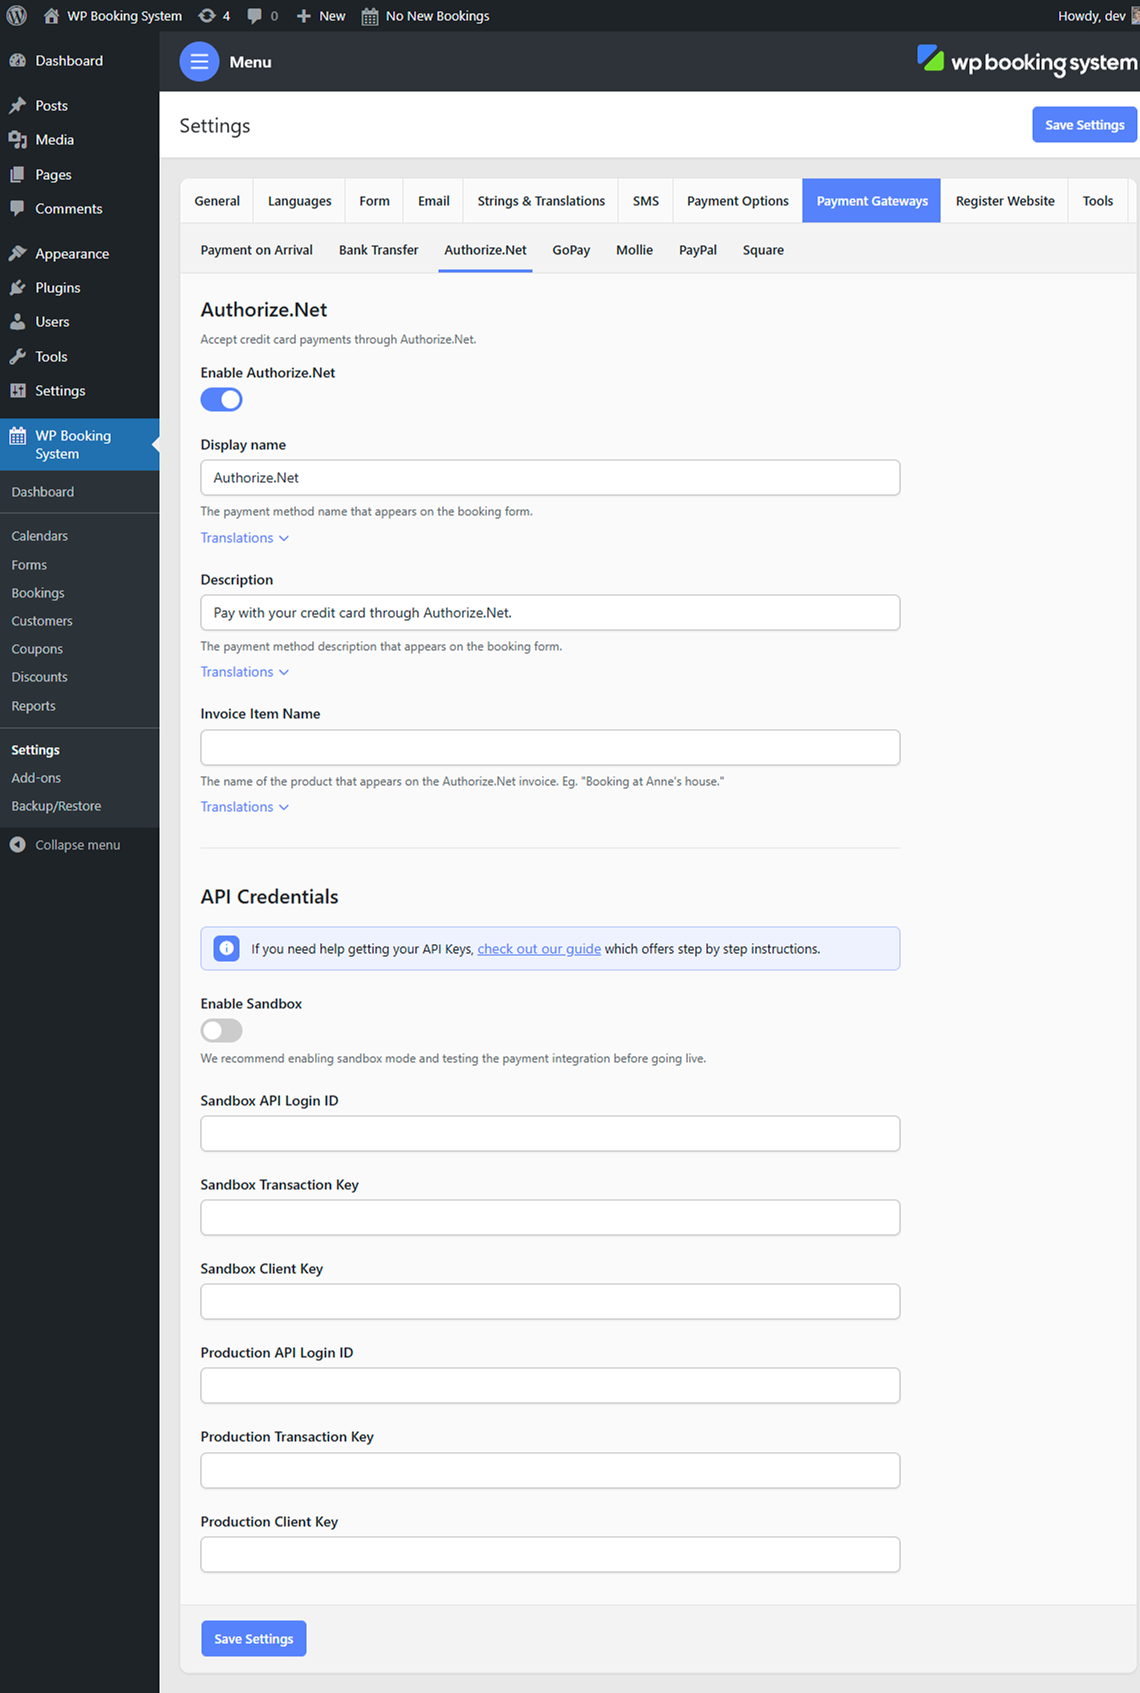
| Active | Toggle whether or not this payment method is active. |
| Display Name | The name of the payment method displayed in the Payment Method form field. |
| Description | A description of the payment method displayed in the Payment Method form field. |
| Invoice Item Name | The description that will appear in the Authorize.Net dashboard. |
